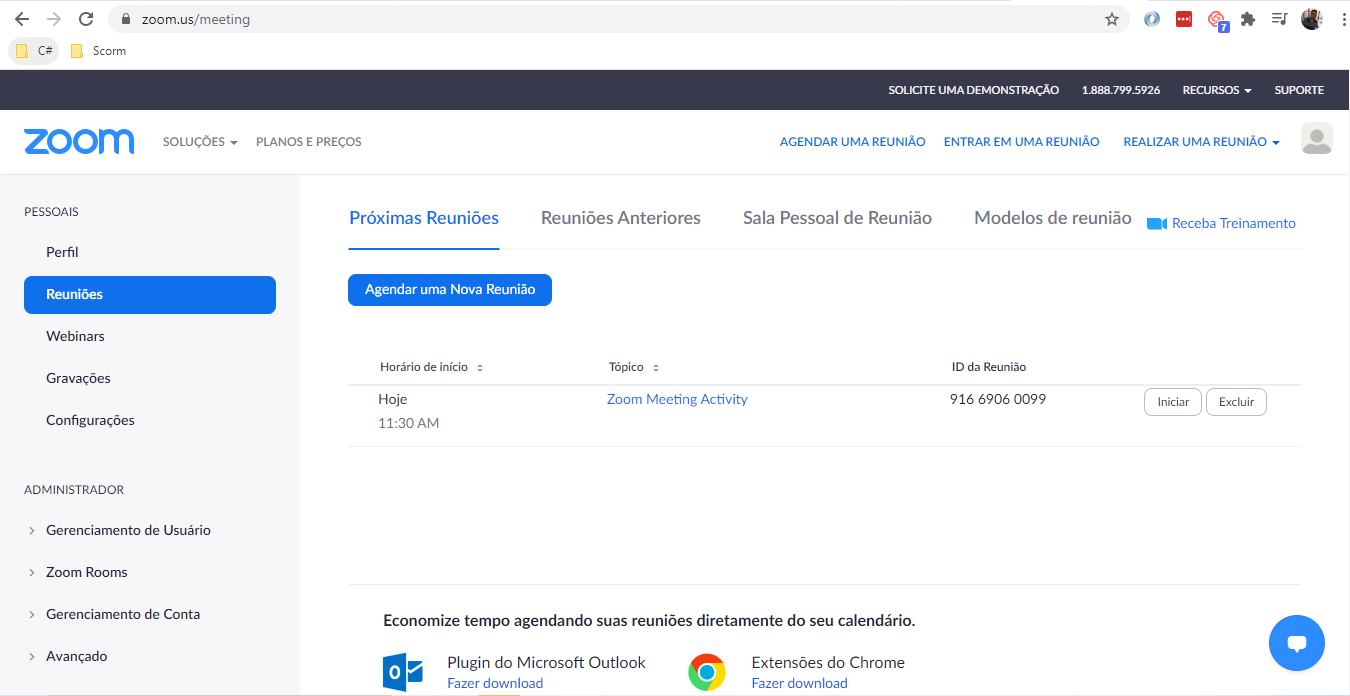
Before using Zoom within Engage, you need to pay attention to the following points:
Prerequisites:
- You must have a paid Zoom account to use this service. Free accounts do not support this feature.
- The Engage app in the app needs to have permissions to read and write to the Zoom meeting creation APIs - meeting:read:admin, meeting:write:admin and user:read:admin scopes
- You must be an Engage subscriber.
- The same Zoom account cannot be used in different instances.
- Finally, you need to authorize the Engage app to use your Zoom account, as described in the next chapter.
Authorizing the Zoom Engage app to use your account
- Log in to Engage with your admin username
- In the top right menu, Select the gear icon to activate the platform's administrative area then click on Manage , in the bar that appears;
- Select the option Other Settings > Integrations and then click on the option Zoom. The screen below will appear:

4. Click on the "create zoom integrations" button. The screen below will be displayed. Once this is done, just click on the authorize app button , as shown in the image below:

5. You will be taken to the Zoom login screen. Log in, and you will see the screen below, showing that you are about to add the Engage app to your account. Click the Allow button .
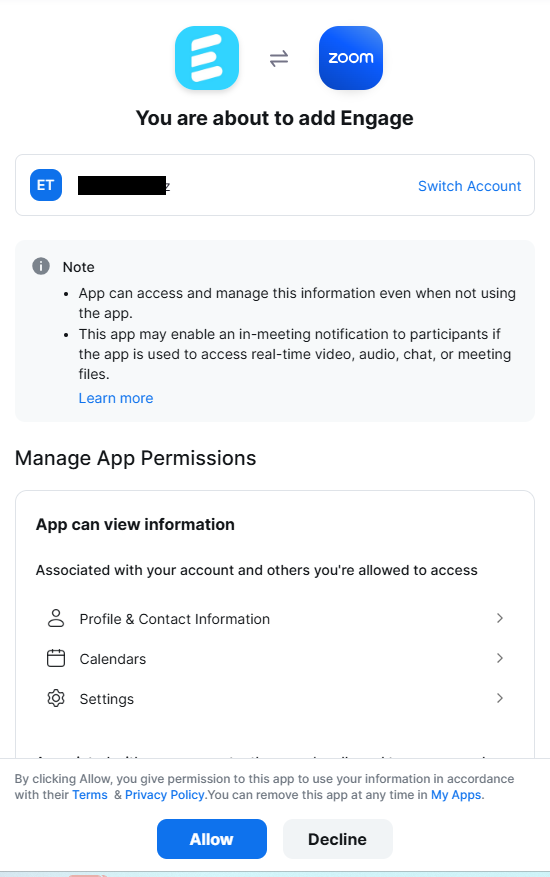
8. After logging in, the message below will be displayed, informing you that the authorization was completed successfully.

9. That's it, you've authorized your account to connect with Engage.
Creating a module with a Zoom type activity
1. Click on the gear icon to activate the platform's administrative area and then click on the + button to create a new module.
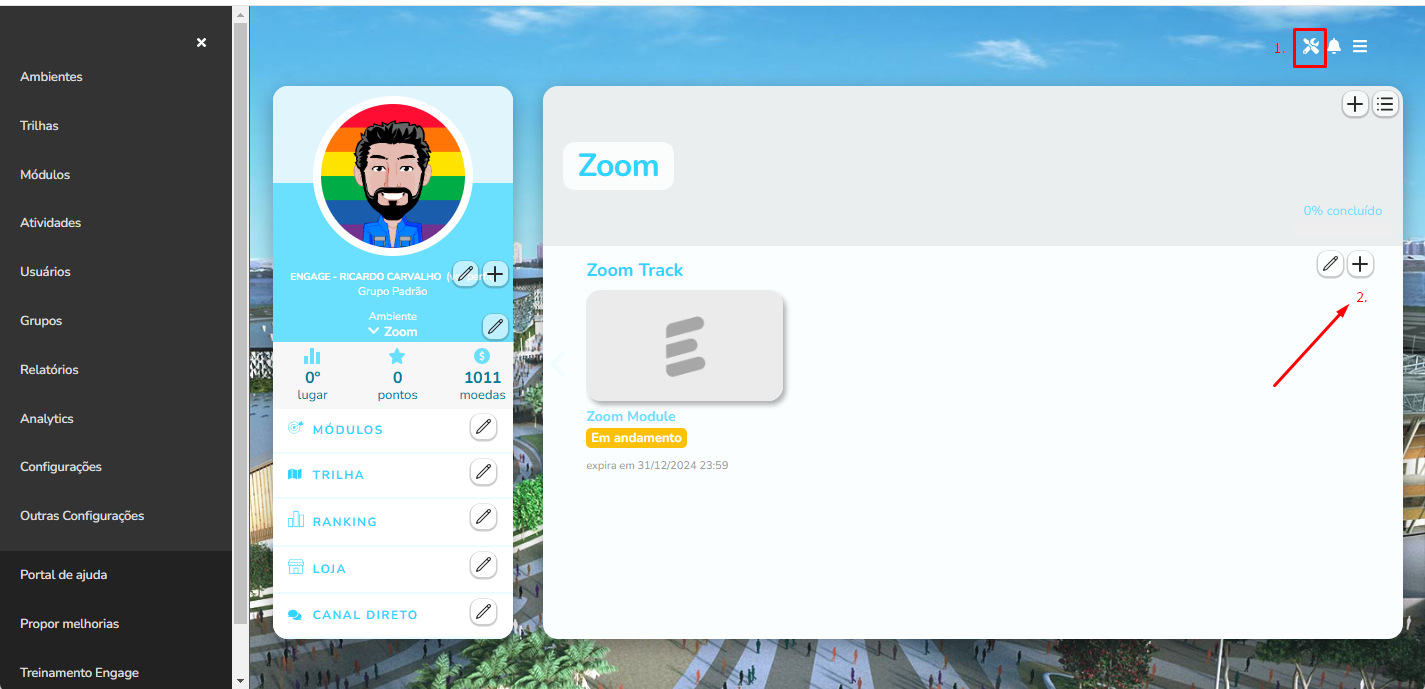
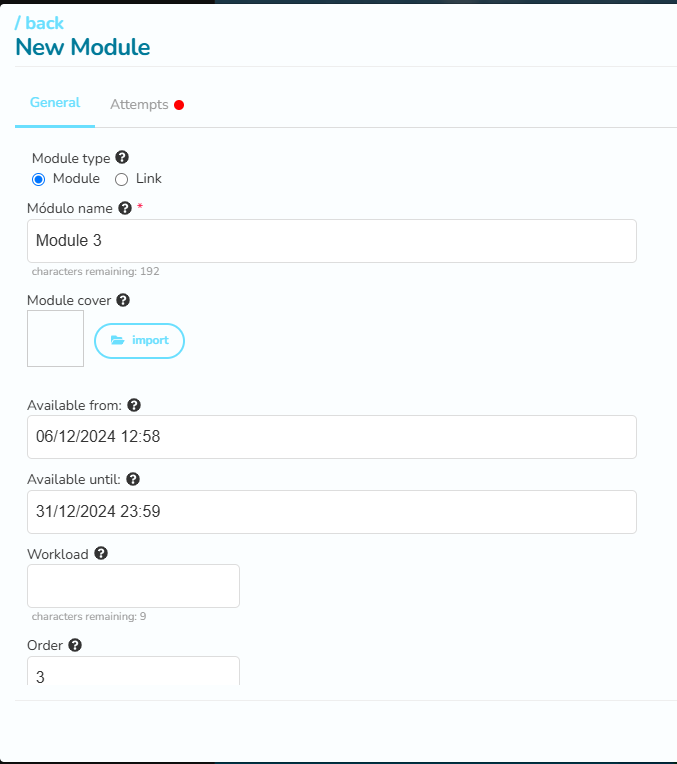
2. Enter the name and start date of the module and click Confirm. Remember that the period entered is the period of the module and not the Zoom meeting, since the module can contain more types of activities, in addition to the Zoom activity.
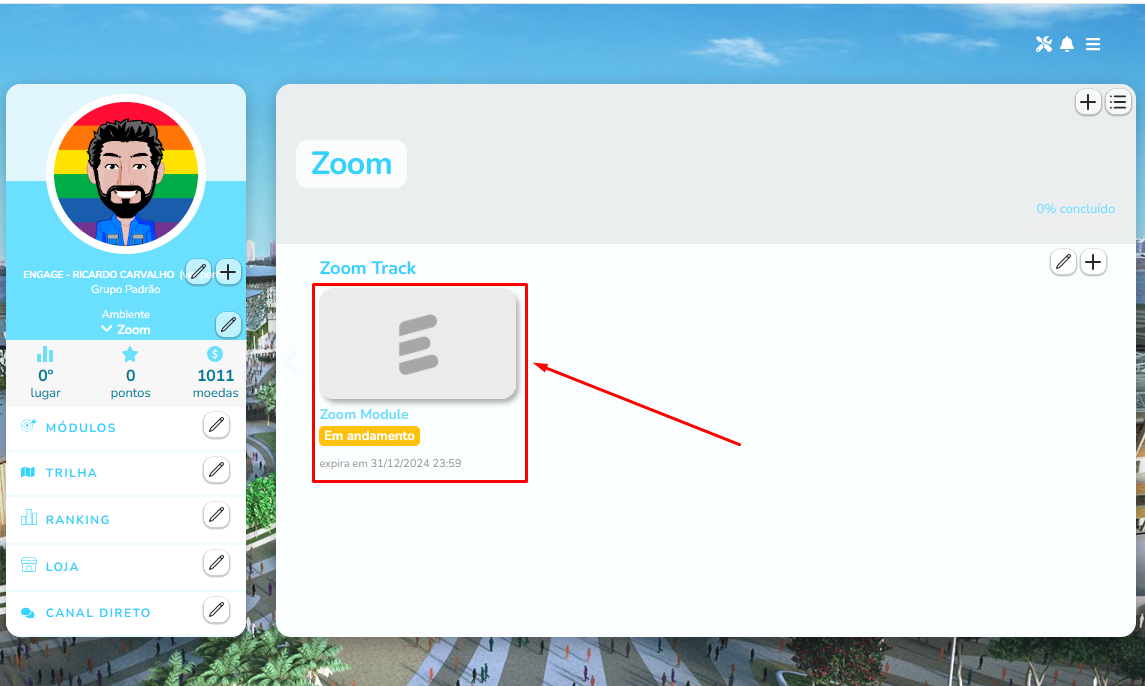
3. Your module will appear in the track. Click on it, so you can create your Zoom activity.
4. On the screen that appears, click on the create an activity now button. On the screen that appears, select the live online classes tab and locate the Zoom option , as shown in the following image:

5. Fill out the form with the start and end data for your meeting and the Zoom account where the meeting will be created and click the "confirm" button, as shown in the image below:

6. Done. Your activity will be created in Engage and linked to the module. Accessing the Zoom control panel with the user account provided, you will see that the meeting was also created there.
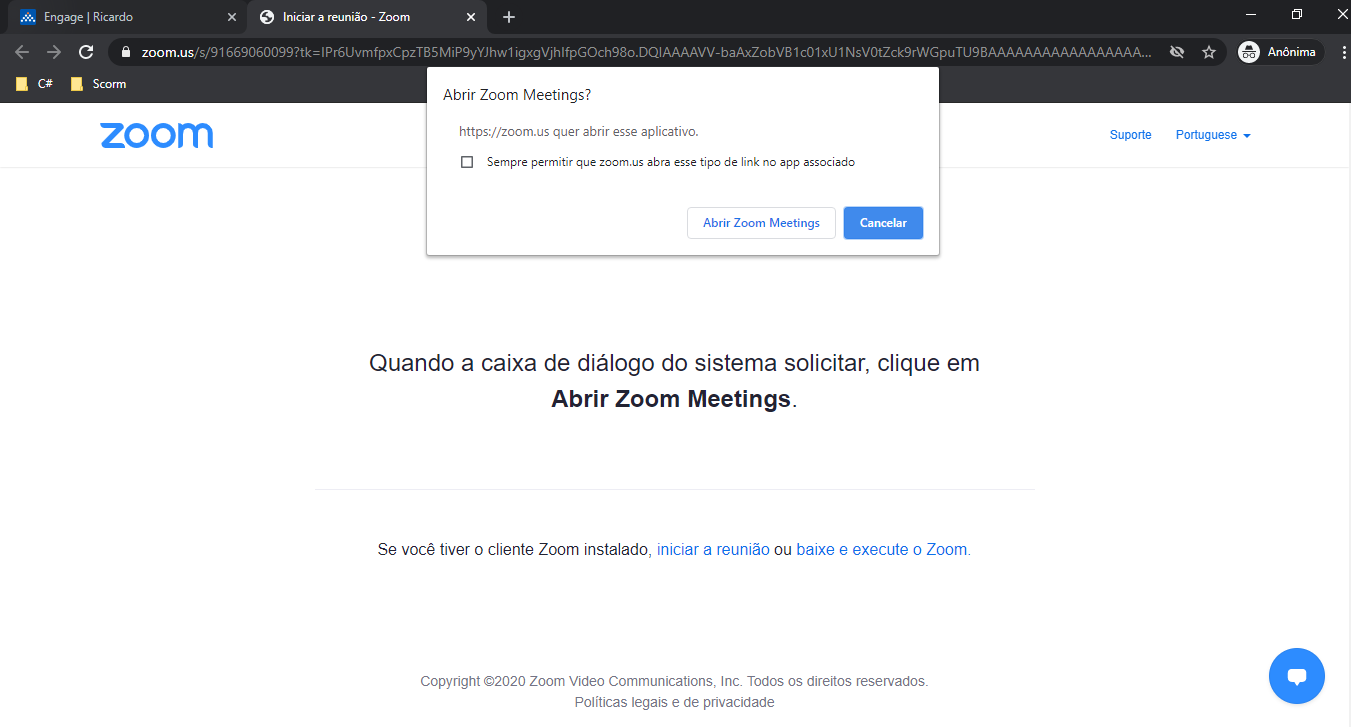
7. That's it, your activity and meeting on Zoom are now properly created and ready to receive students participating in the track. By clicking on the "Join meeting" button, you will be redirected to Zoom:
Este artigo foi útil?
Que bom!
Obrigado pelo seu feedback
Desculpe! Não conseguimos ajudar você
Obrigado pelo seu feedback
Feedback enviado
Agradecemos seu esforço e tentaremos corrigir o artigo
